
Recipe
Export your expenses for tax season — without the shoebox of receipts
Tag deductible and reimbursable expenses as you go, keep the receipt photo attached to every bill, then export one clean CSV your accountant can drop straight into their spreadsheet.
Last reviewed: January 2026
Tax season is where a year of casual expense tracking either pays off or turns into a weekend of receipt archaeology. Most people default to a shoebox of paper and a frantic March. Split The Bill already stores every bill you logged all year — with the receipt photo attached, a category, a date, and (for shared costs) exactly which portion is yours. This guide shows how to tag deductible and reimbursable expenses through the year and export them as a clean, per-line CSV that opens in Excel, Google Sheets, or Numbers — the format an accountant or a corporate reimbursement portal actually accepts.
Step-by-step
- 1
Categorize every bill as you log it
The single habit that makes tax season painless: assign a category on every bill when you create it, not in March. On the New Bill screen the category is a native picker — pick the one that maps to how you file (e.g. "Transport", "Meals", "Software", "Home office").
Categories are what let you filter the export later. A bill with no category still exports fine, but it lands in an "Uncategorized" bucket you'll have to sort by hand at year-end. Ten seconds now saves an hour later.
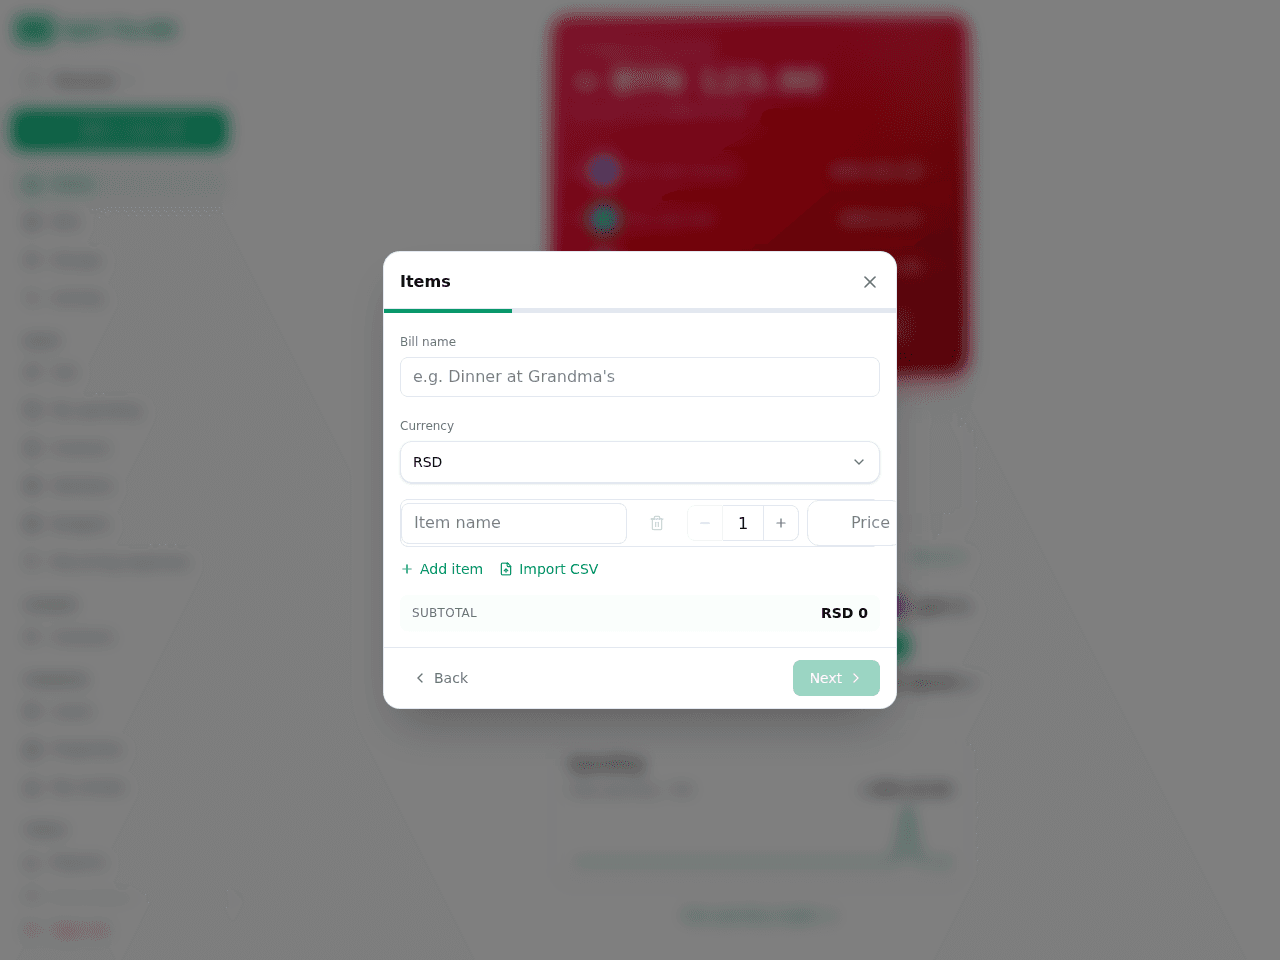
Pick a category on every bill — it becomes a column in the CSV. - 2
Keep the receipt photo attached
When you snap a receipt and let the AI extract the line items, the original photo stays attached to the bill in the Source image tab — permanently. This is the part a spreadsheet can never do: at audit time or reimbursement time, the proof of purchase lives next to the number.
For a cash expense with no scannable receipt, use the manual entry flow (New Bill → manual → enter the total) and, if you have a paper receipt, photograph it anyway and upload it as the source image. The CSV notes which bills have an attached receipt.
- 3
Mark shared bills so only your share counts
For expenses you split with others — a client lunch you covered, a co-working desk shared with a partner — only *your portion* is usually deductible or reimbursable. Split the bill as you normally would (equal, by items, or exact amounts) so the app knows your share versus everyone else's.
The export includes both the full bill total *and* each person's share on its own line. When you filter to your own shares, you get the exact figure you can claim — not the whole table's worth that you fronted on your card.
- 4
Reconcile reimbursables with settle-up
If a colleague or client is meant to pay you back, record it through settle-up: mark the share settled when they actually pay, or log an outside payment if they reimbursed you via a channel the app didn't open. This keeps a paid/unpaid status on every reimbursable line.
At year-end you can see, per person, what was reimbursed and what's still outstanding — the difference between "expenses I claimed back" and "money still owed to me". Both show up in the export so nothing slips.
- 5
Filter to the date range and categories you need
Before exporting, narrow to the tax period. On `/bills` set the date range to the fiscal year (e.g. Jan 1 – Dec 31) and, if you only need certain buckets, filter to the deductible categories — "Meals", "Transport", "Software", "Home office", whatever your accountant asked for.
Exporting the filtered view keeps the CSV focused: you hand over the deductible lines, not your entire year of grocery runs and dinners with friends.
- 6
Export the detailed CSV
Click CSV detail on `/bills`. You get a per-line export: every bill with its date, category, currency, total, each participant's share, and settle-up status. It opens cleanly in Excel, Google Sheets, or Numbers — no reformatting, no broken columns.
For a running personal record rather than the shared-bill detail, the Reports page also exports your personal ledger — every expense attributed to you across all groups — which is the view most freelancers and sole traders want for their Schedule C / self-assessment.
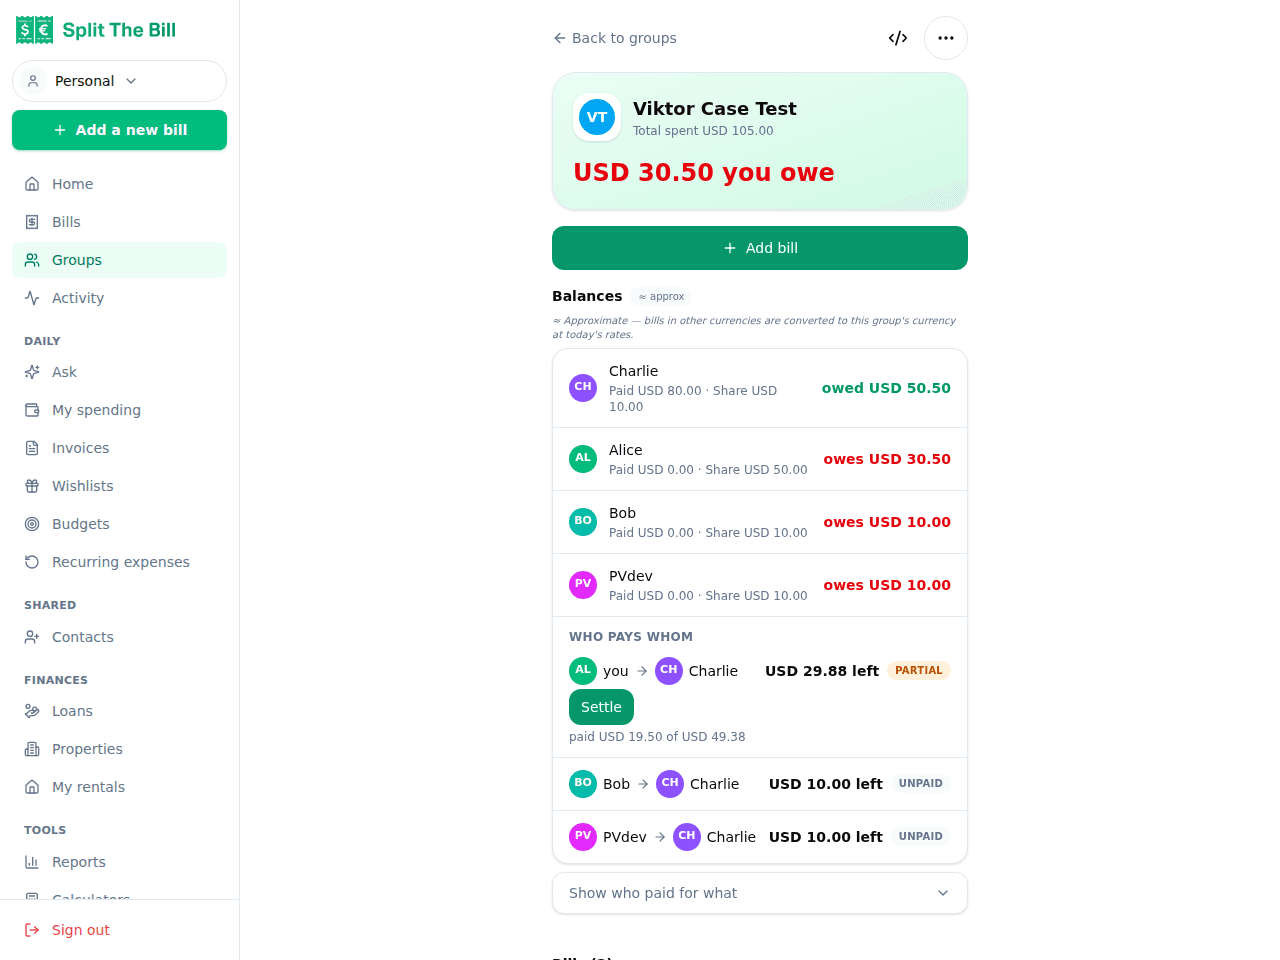
One click on CSV detail exports every line — dates, categories, shares, and settle-up status.
What the CSV actually contains
The detailed export is a flat, one-row-per-line table designed to survive being pasted into an accountant's working sheet:
Bill-level fields. Date, description, category, currency, and full total for every bill in the filtered range. This is the row you'd claim if you paid the whole thing yourself.
Share-level fields. For split bills, each participant's share on its own line, so you can filter to just your name and sum only your portion. No manual division, no rounding drift — the shares always sum back to the bill total because the math runs through verified code.
Settle-up status. Whether a reimbursable share was paid, and how (in-app settle, outside payment, or still outstanding). This is what turns "I think the client paid me back for that dinner" into a dated, exportable record.
Currency, honestly stated. Each bill keeps its native currency in the CSV rather than being silently converted, so a EUR expense reads as EUR and a USD one as USD. If you need a single-currency total for filing, you apply your own year-end rate — the app never hides a conversion inside a number you have to defend later.
Tips for a painless tax season
Decide your category scheme in January, not December. Ask your accountant which buckets they want ("Meals", "Travel", "Software", "Home office") and use those exact category names all year. Consistent categories make the year-end filter trivial.
Photograph the receipt even for cash. The tax authority doesn't care that it was cash — they care that you can show proof. A 2-second photo attached to a manual bill is your audit trail.
Separate personal from deductible with categories, not memory. Don't try to remember in March which dinners were client meetings. Tag "Meals – client" vs "Meals – personal" (or use a group) as you go.
Export quarterly, not just annually. A quarterly CSV export is a natural checkpoint — you catch a missing category or an un-reconciled reimbursable while you still remember the context, instead of a year later.
Reconcile reimbursables before year-end. Chase the outstanding "owed to me" lines in December so your paid/unpaid column is accurate when you file.
When to use a dedicated accounting tool instead
Split The Bill is an expense tracker with a clean export — it is not accounting software. It does not compute your tax, apply depreciation, handle payroll, or file returns.
If you run a registered business with invoices, VAT/GST returns, and a chart of accounts, use proper accounting software (or your accountant's system) as the source of truth and treat the Split The Bill CSV as a tidy *feeder* — a categorized list of shared and out-of-pocket expenses to import or hand over.
Where Split The Bill genuinely shines is the messy middle that accounting tools handle poorly: expenses you split with other people, receipts in multiple currencies, and reimbursables where you need to know which share was actually paid back. For a freelancer, contractor, or anyone claiming a slice of shared costs, the categorized export plus the attached receipts is often all the accountant needs.
Frequently asked questions
Is exporting expenses to CSV free?▾
Yes — CSV export is available on the free tier. You can export your bills, their categories, each participant's share, and settle-up status without upgrading. The file opens directly in Excel, Google Sheets, or Numbers.
Can I export only my own share of shared bills?▾
Yes. The detailed CSV puts each participant's share on its own line, so you can filter to your name and sum only your portion — the exact figure to claim on a bill you split with others, not the full amount you fronted.
Are the receipt photos included in the export?▾
The CSV is a data file, so it references which bills have an attached receipt rather than embedding the images. The photos themselves stay attached to each bill in the Source image tab, viewable any time — so you keep the proof of purchase even though the CSV itself is text.
How does the export handle expenses in different currencies?▾
Each bill keeps its native currency in the CSV — a EUR expense reads as EUR, a USD one as USD — rather than being silently converted. If your filing needs a single currency, you apply your own year-end rate. Nothing is converted invisibly inside a number.
Can I limit the export to one tax year?▾
Yes. Filter the bills list to the fiscal date range (e.g. Jan 1 – Dec 31) and, if you want, to specific deductible categories before exporting. Only the filtered lines end up in the CSV.
What's the difference between the bills CSV and the Reports export?▾
The bills CSV detail is a per-line record of shared bills — full totals plus each person's share. The Reports page exports your personal ledger: every expense attributed to you across all groups. Freelancers and sole traders usually want the personal ledger; teams reconciling a shared trip usually want the bills detail.
Can I track which reimbursable expenses have been paid back?▾
Yes. Record reimbursements through settle-up — mark a share settled when someone pays you, or log an outside payment if they paid through a channel the app didn't open. The paid/unpaid status appears on every share in the export, so you can separate what was reimbursed from what's still outstanding.
Free tier covers most recipes. Pro is 100 receipts every 30 days + private invite links.


